Introduction to GitHub
What is Git, GitHub, and the difference between them?
Git is a version-tracking program, think of it as a shopping list. When you want to remove or add something, simply cross these things out then write down new things. Its simply unecessary to create a new list everytime you want to make changes.
Git keeps track of individual changes rather than a new copy for each one, preventing unecessary use of file space.
While Git keeps a track of these changes, GitHub stores those changes on the internet. This enables team members to see your changes without moving the history from your computer to their computer everytime they need it.
Why use GitHub? Just store files normally.
GitHub makes version managing and collaborating easier.
If you store files on your own computer, anyone who needs that code will have to confront you and transfer these files themselves every time.
Even if you use something like Google Drive or OneDrive, it doesn't allow you to see what the code used to look like.
You could make many folders such as Project 0.0.1, Project 0.0.2, and Project 0.1.3 however all the minute details will be lost whenever you forget to upload the new version.
Aditionally, this method takes up unecessary resources.
Uploading code to a cloud drive not only takes up a lot of redundant file space but also steals your time.
When you upload code to a cloud drive, you have to upload every single file, while with GitHub you only upload the small changes.
How do I download Git?
-
Go to Git's official download page, https://git-scm.com/download/win.
-
Press the first link on the page,
Click here to download. The website should automatically detect which version of Windows you need to use. -
Accept the license and press
Next.
-
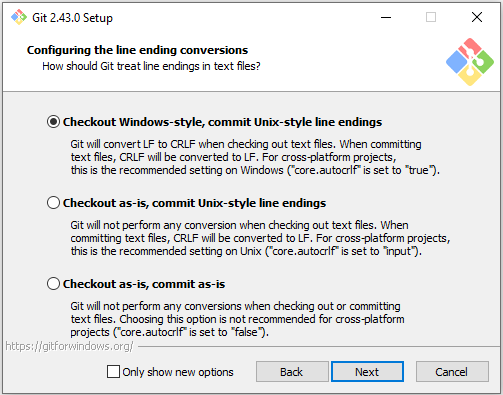
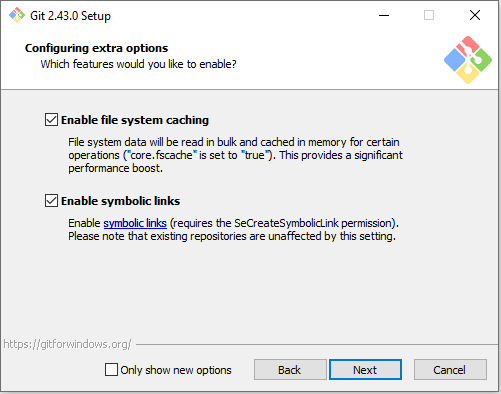
Accept the default configuration and press
Next.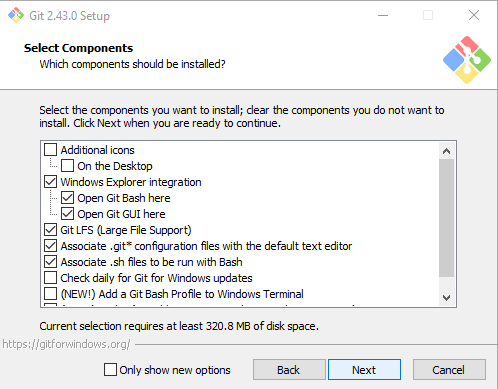
-
Open the dropdown and scroll down until you can
Select other editor as Git's default editor.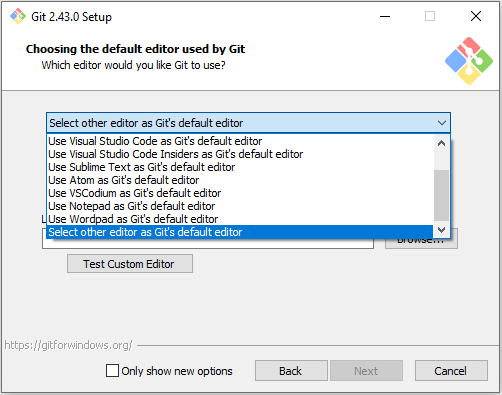
-
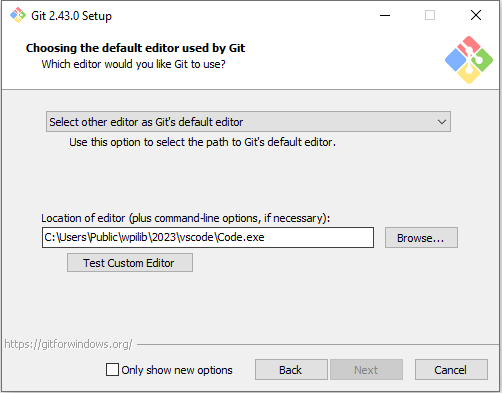
Enter
C:\Users\Public\wpilib\2023\vscode\Code.exeas the location of the custom editor. Then pressNext.infoMake sure to replace
2023with the year of your currently installed software.warningIf you install new WPILib season software and have Git integration with your code editor you will need to reinstall Git and change the path to the new editor.
-
Select
Override the default branch name for new repositories, then pressNext.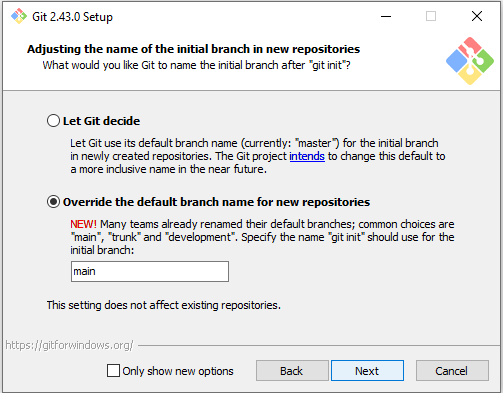
-
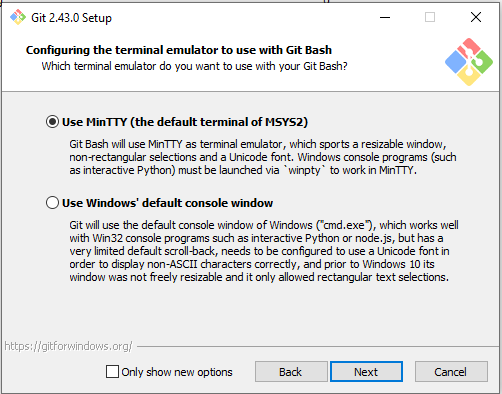
Leave this on the default option, the recommended one, and press
Nextfor all of the following steps.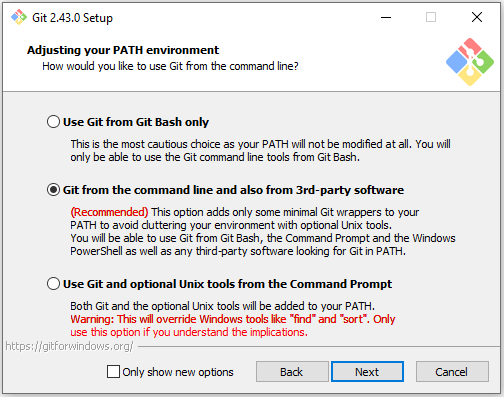
-
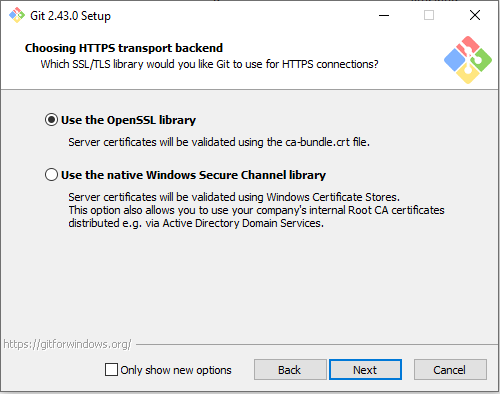
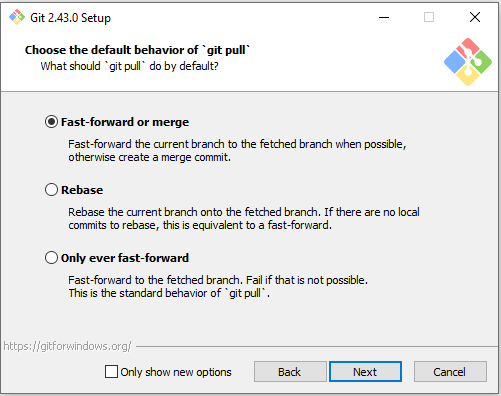
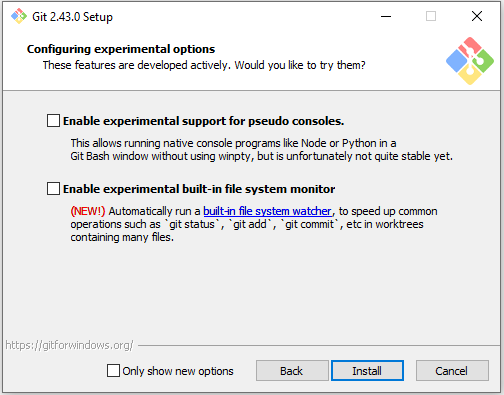
Leave these next settings on the default option and press
Next.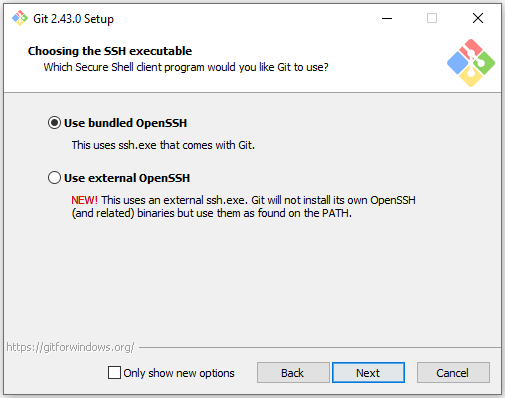
-
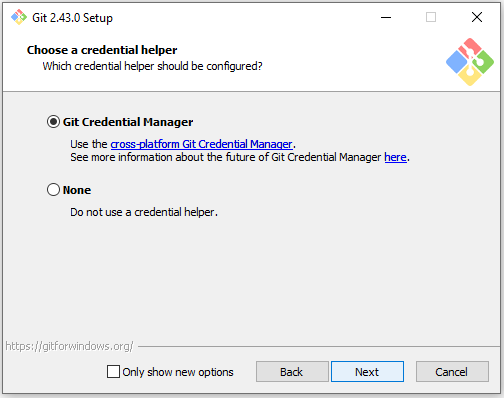
Press
Install.
How do I make a GitHub account?
-
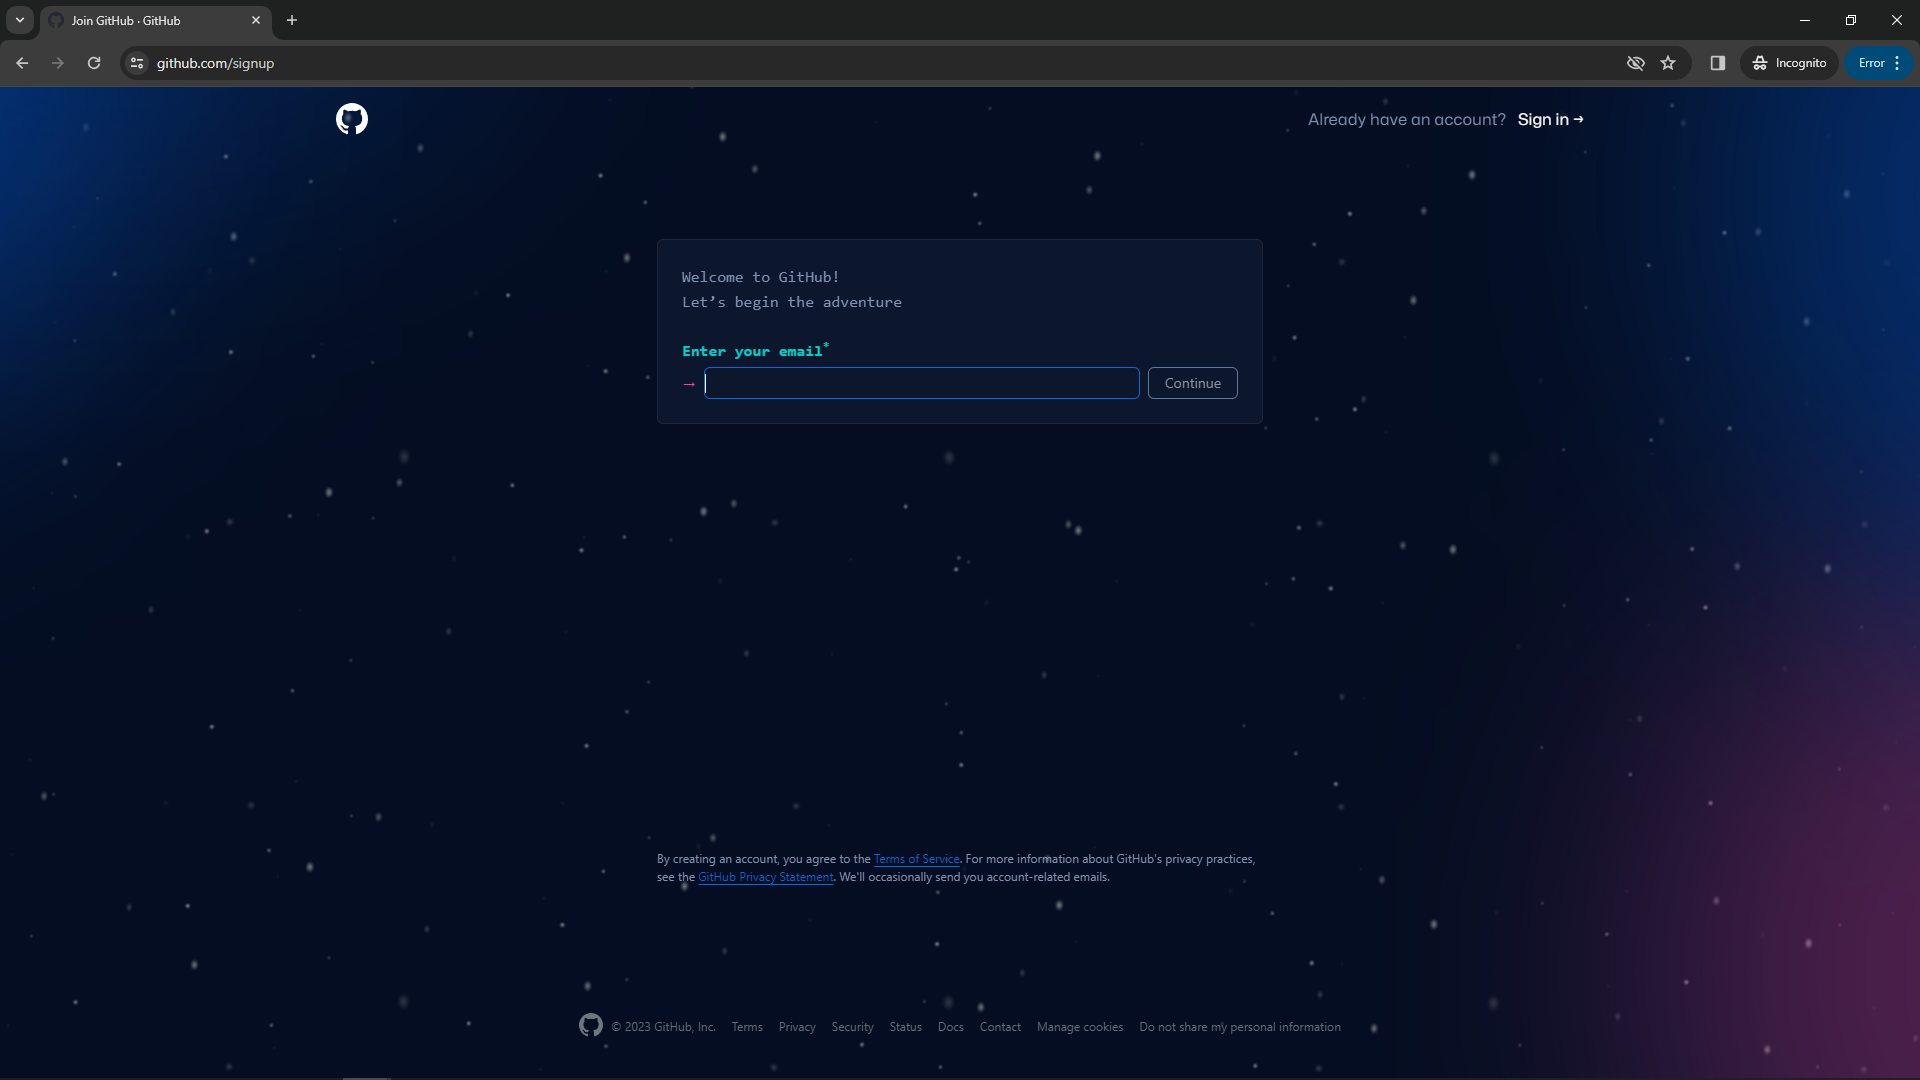
Go to https://github.com/signup.
-
Enter your
202xxxx@scprep.orgemail, then pressContinue.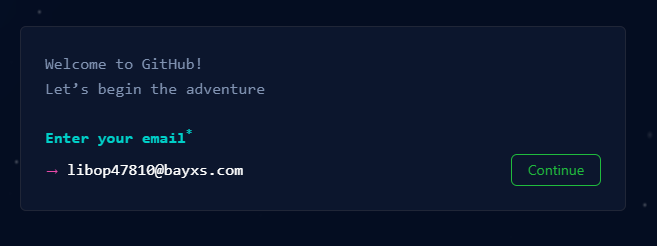
-
Create a unique password, then press
Continue.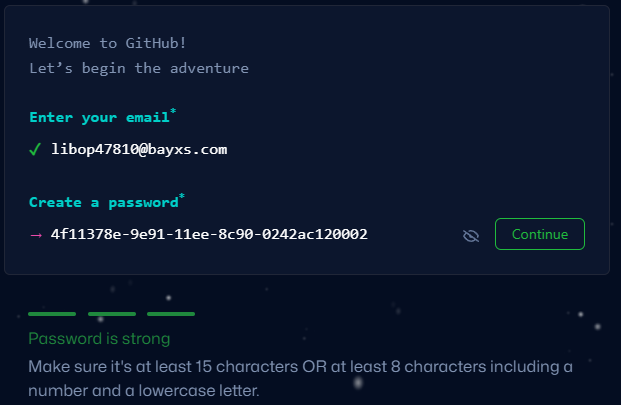
-
Pick a unique username, for example this could simply be your given email, after that press
Continue.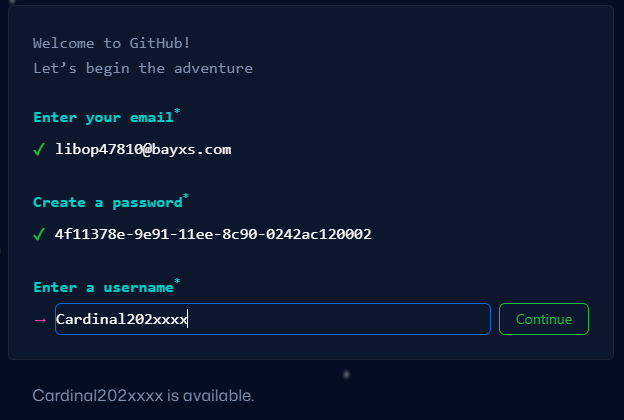
-
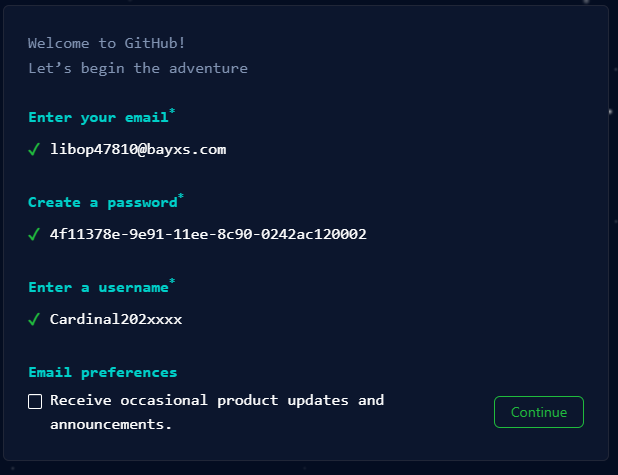
Choose to accept or deny emails from GitHub, I recommended denying these but it is your choice.
-
Complete the given Captcha, then press
Continue.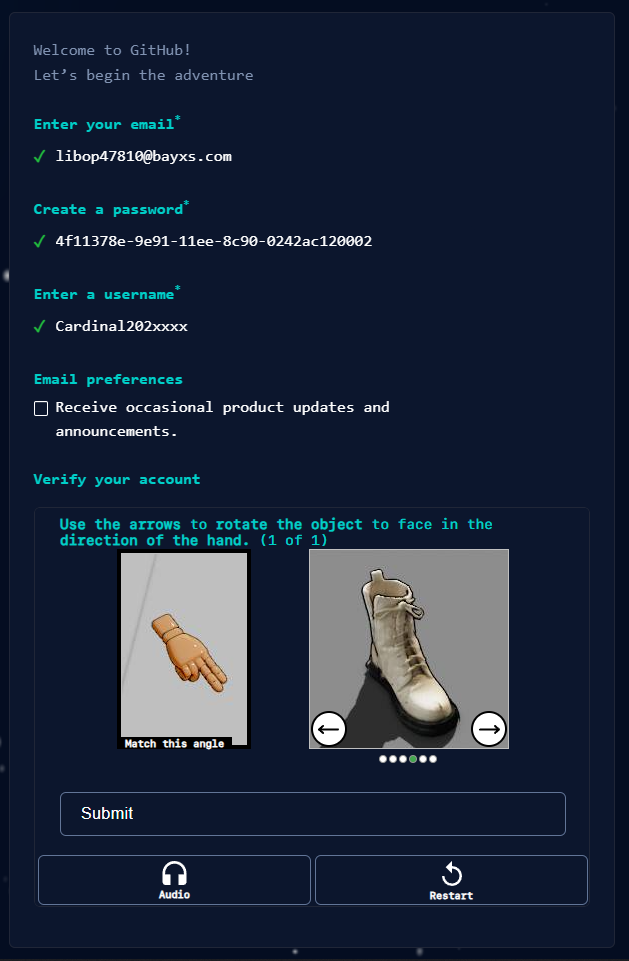
-
Press
Create account.
-
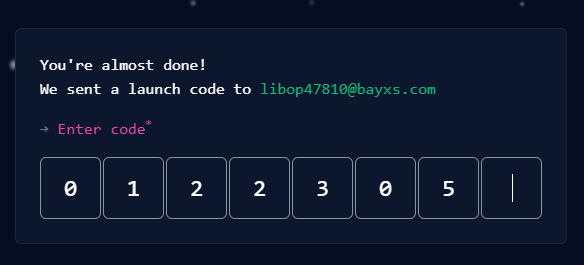
Enter in the code sent to your email, and your account will be complete.
How do I login to VSCode and Git with my GitHub account?
Requirements
- A GitHub Account
- WPILib's VSCode
-
Find the accounts section.

-
Select
Turn on Cloud Changes....
-
Select
Sign in with GitHub.
-
Login to your account and press
Sign in.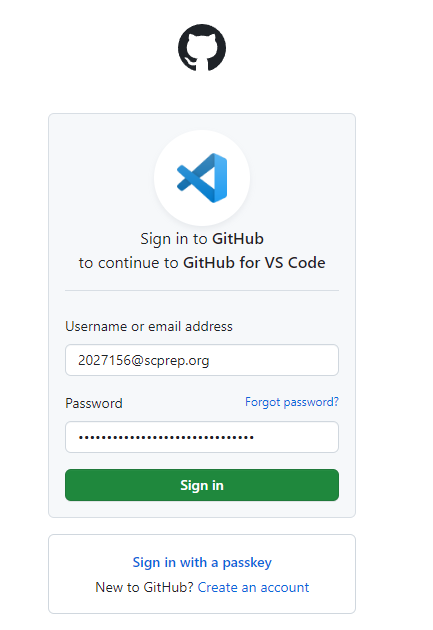
-
Open up the terminal in VSCode, the shortcut is
(CTRL + `)but you can also use theTerminal > New Terminalat the top.
-
Run the following commands and substitute the
USERNAMEwith your GitHub username and theEMAILwith your GitHub account's email (likely@scprep.org). Leave the quotes as is do not remove them.git config --global user.name "USERNAME"
git config --global user.email "EMAIL"The end result should look like this:
